vSphere Plugin: Quick Start
EnterpriseBacula Enterprise Only
This solution is only available for Bacula Enterprise. For subscription inquiries, please reach out to sales@baculasystems.com.
Important
This guide covers installing the vSphere Plugin, registering a vCenter or ESXi host in BWeb, creating a backup job, running a backup, and restoring a VMware VM as a new VM. For advanced backup strategies, transport modes, and restore scenarios, see the main vSphere Plugin documentation.
Installation
The vSphere Plugin for Bacula Enterprise can be installed with the File Daemon (FD) using the Bacula Installation Manager (BIM). Select 30 for vSphere in the plugin menu shown below.
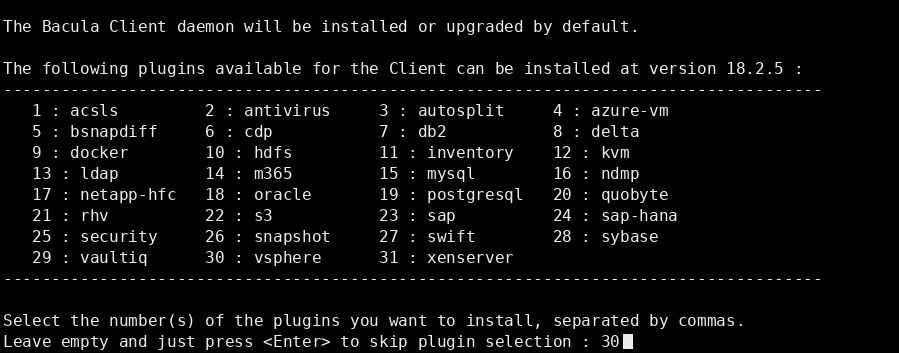
The installation procedure checks prerequisites, lets you choose the Bacula version and plugins, and configures firewall rules.
Alternatively, install the plugin directly using the package manager.
Install the File Daemon and vSphere Plugin on the Bacula Client that will communicate with vCenter or ESXi. The Client must be able to reach the vSphere management network on TCP/443 and, when using NBD transfer, TCP/902. See the File Daemon installation guide.
Configuration
To configure the vSphere Plugin in BWeb:
Open Clients -> Client Overview, select the Bacula Client that will communicate with vCenter or ESXi, and verify that the vSphere plugin is shown as loaded on that Client.

Connect BWeb to vCenter or an ESXi host. Open Virtual Machines -> VMware Center and click Add to add a new vSphere host. Enter a name, user name, server address, and SDK URL.

Under the Main tab, retrieve the host thumbprint and check the connection.

Move to Advanced. Choose the default restore datastore, tick Datastore Allow Overprovisioning, and save the host.

Assign the vCenter or ESXi host to the Bacula Client that has the vSphere Plugin installed.
Click Assign vSphere host to Bacula Client. In the pop-up window, choose the Client and click Next.

In vSphere servers available, select the vSphere host and click the green arrow to move it to vSphere servers assigned. Tick Push the Configuration to the Client and click Apply.

In the push configuration assistant, select Perform the deployment directly from BWeb Manager Suite and click Next.

Type the remote host password and click Next. When the deployment finishes, confirm that Deploy has been finished successfully is shown, then click OK.


Create a Fileset for the VM backup.
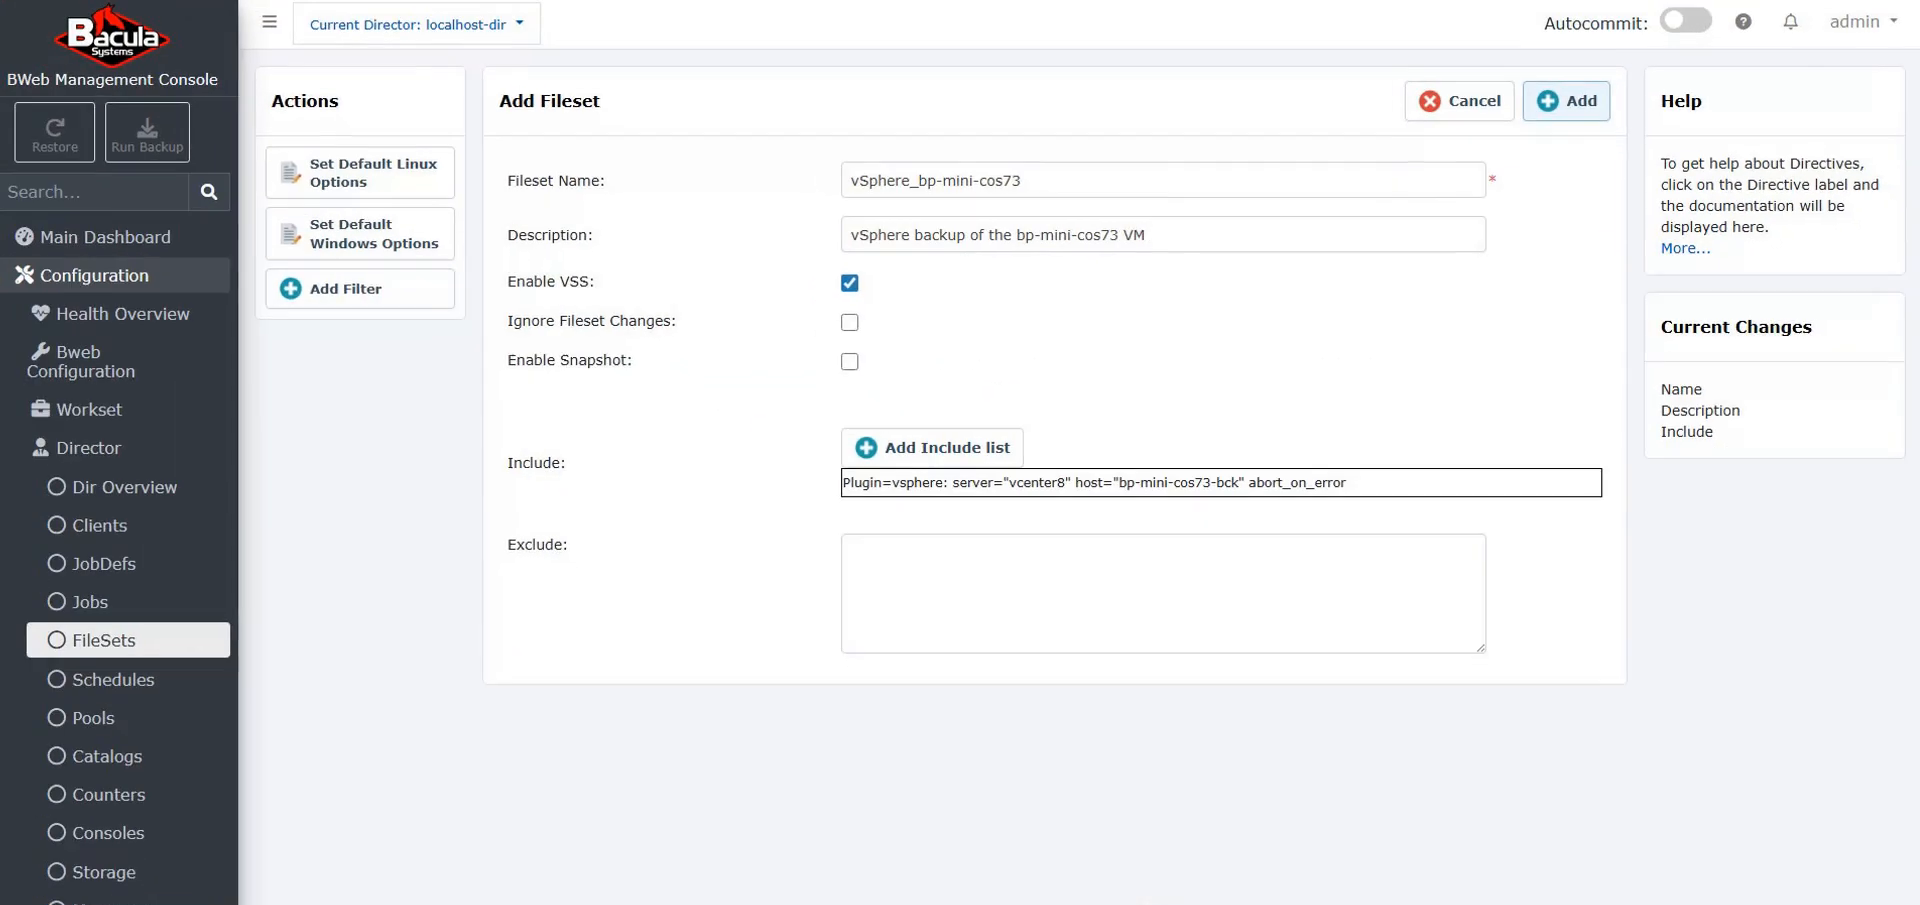
Go to Configuration -> FileSets and click Add. In Add Fileset, enable VSS, provide a Fileset name and description, then click Add Include list.

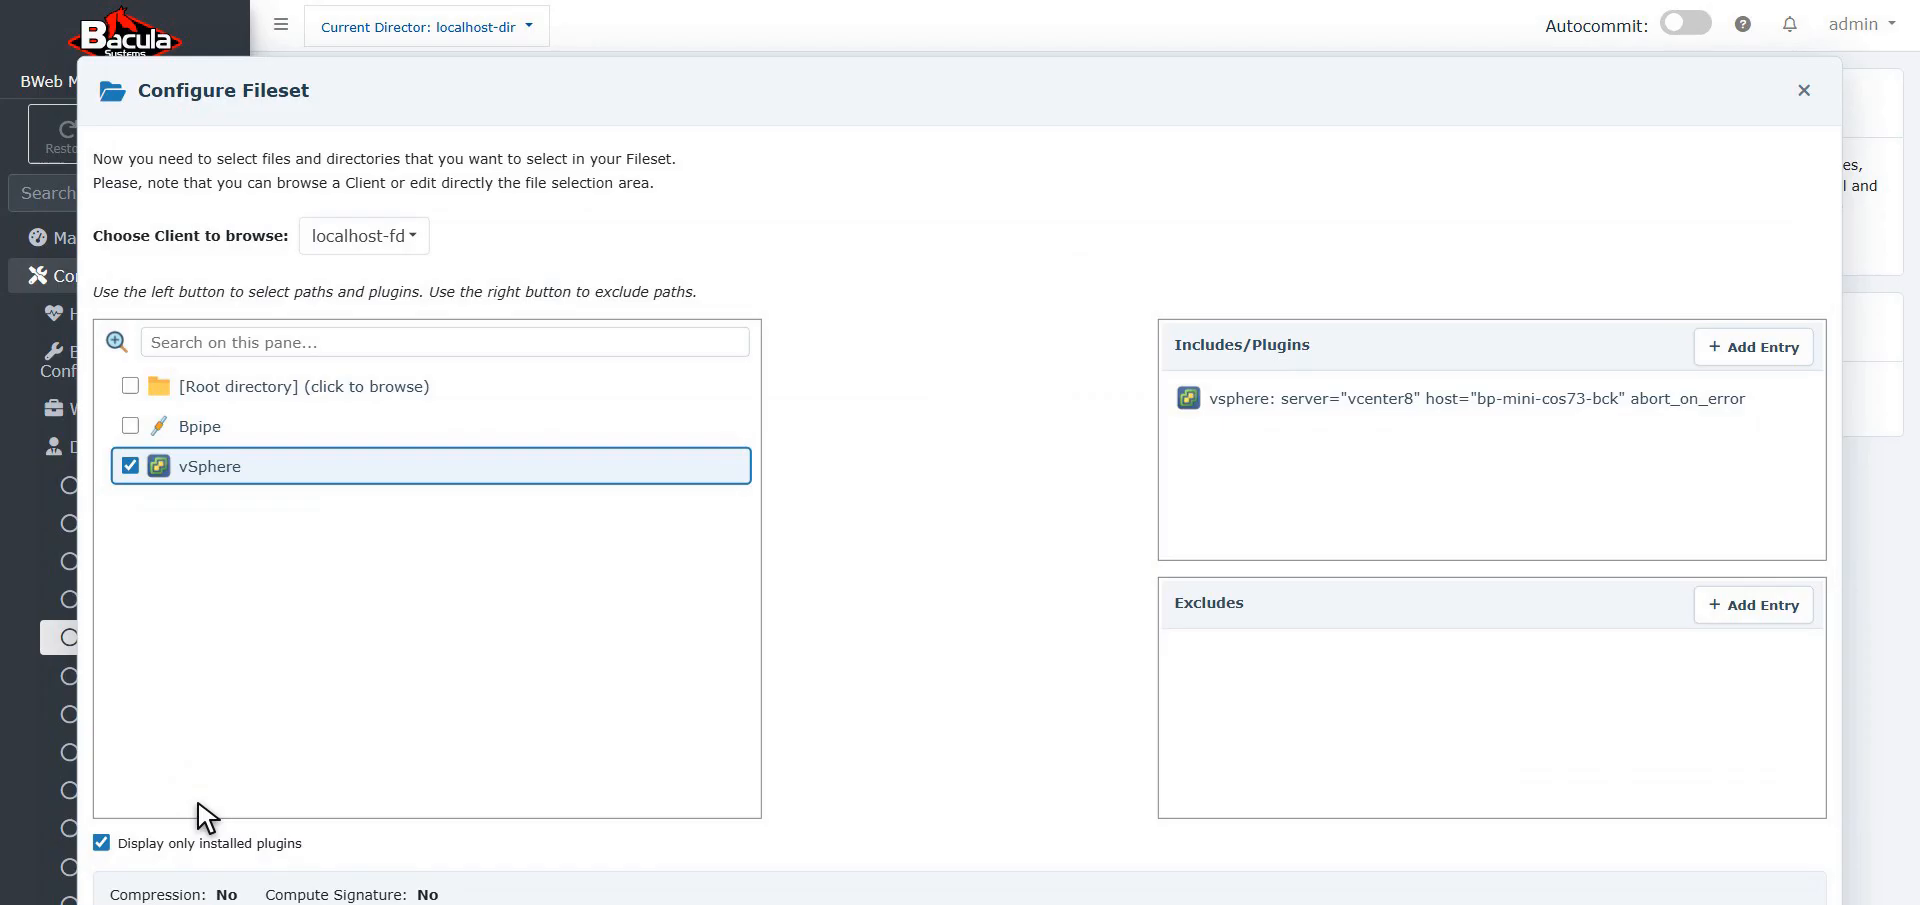
In the Configure Fileset pop-up window, click Choose Client to browse and select the host with the vSphere Plugin installed. In the plugin list, choose vSphere.

In the VMware vSphere Plugin Configuration pop-up window, under Host Selection, click the refresh buttons next to Server defined in vsphere_global.conf and Virtual Machine Host. Select the vCenter or ESXi server and the VM host to back up.

Open the Options tab, change Abort the job after an error from Disabled to Enabled, and click Submit.

Back in the Configure Fileset pop-up window, verify that Includes/Plugins shows the generated vSphere plugin line. If everything is correct, click OK. Back in Add Fileset, confirm that the Include line is filled in and click Add.
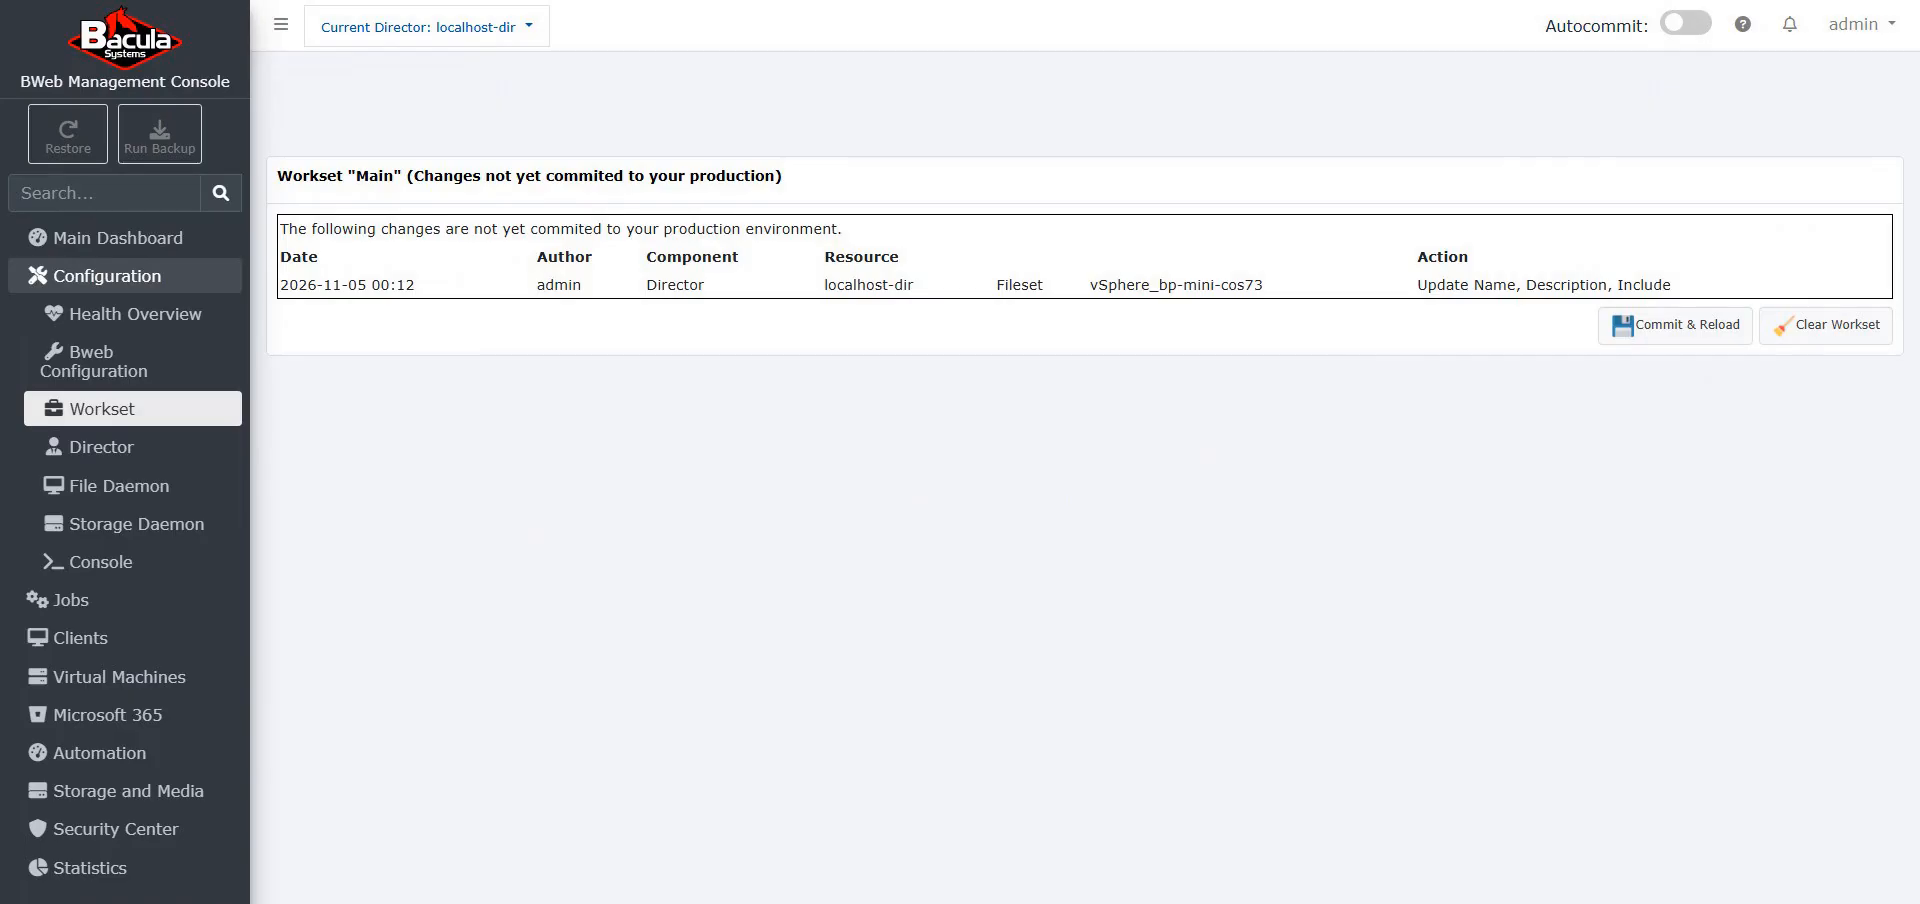
In Workset “Main” (Changes not yet committed to your production), review the pending Fileset change and click Commit & Reload.
Create a backup Job that uses the vSphere Client and Fileset.
Go to Jobs -> Add New Job. In Configure a new Job resource, choose the Backup tile and click Create.
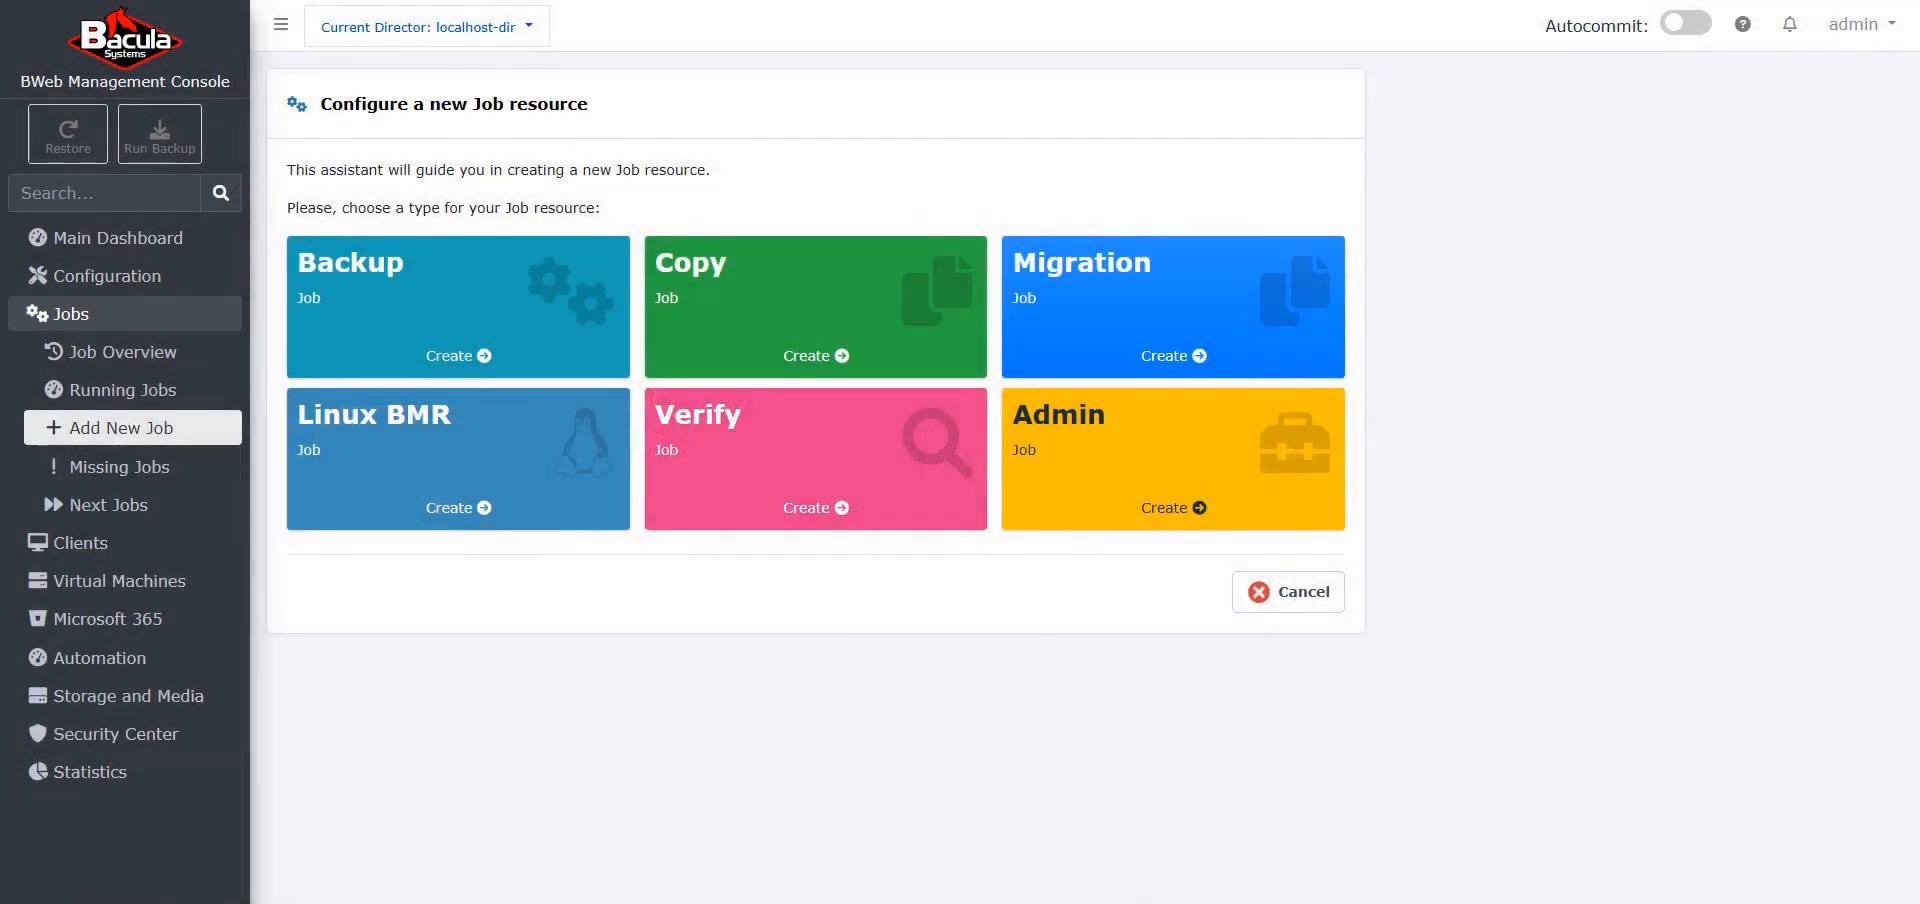
In Configure a new Backup Job resource 1/5, provide the Job name and description, choose the Job template, and click Next.
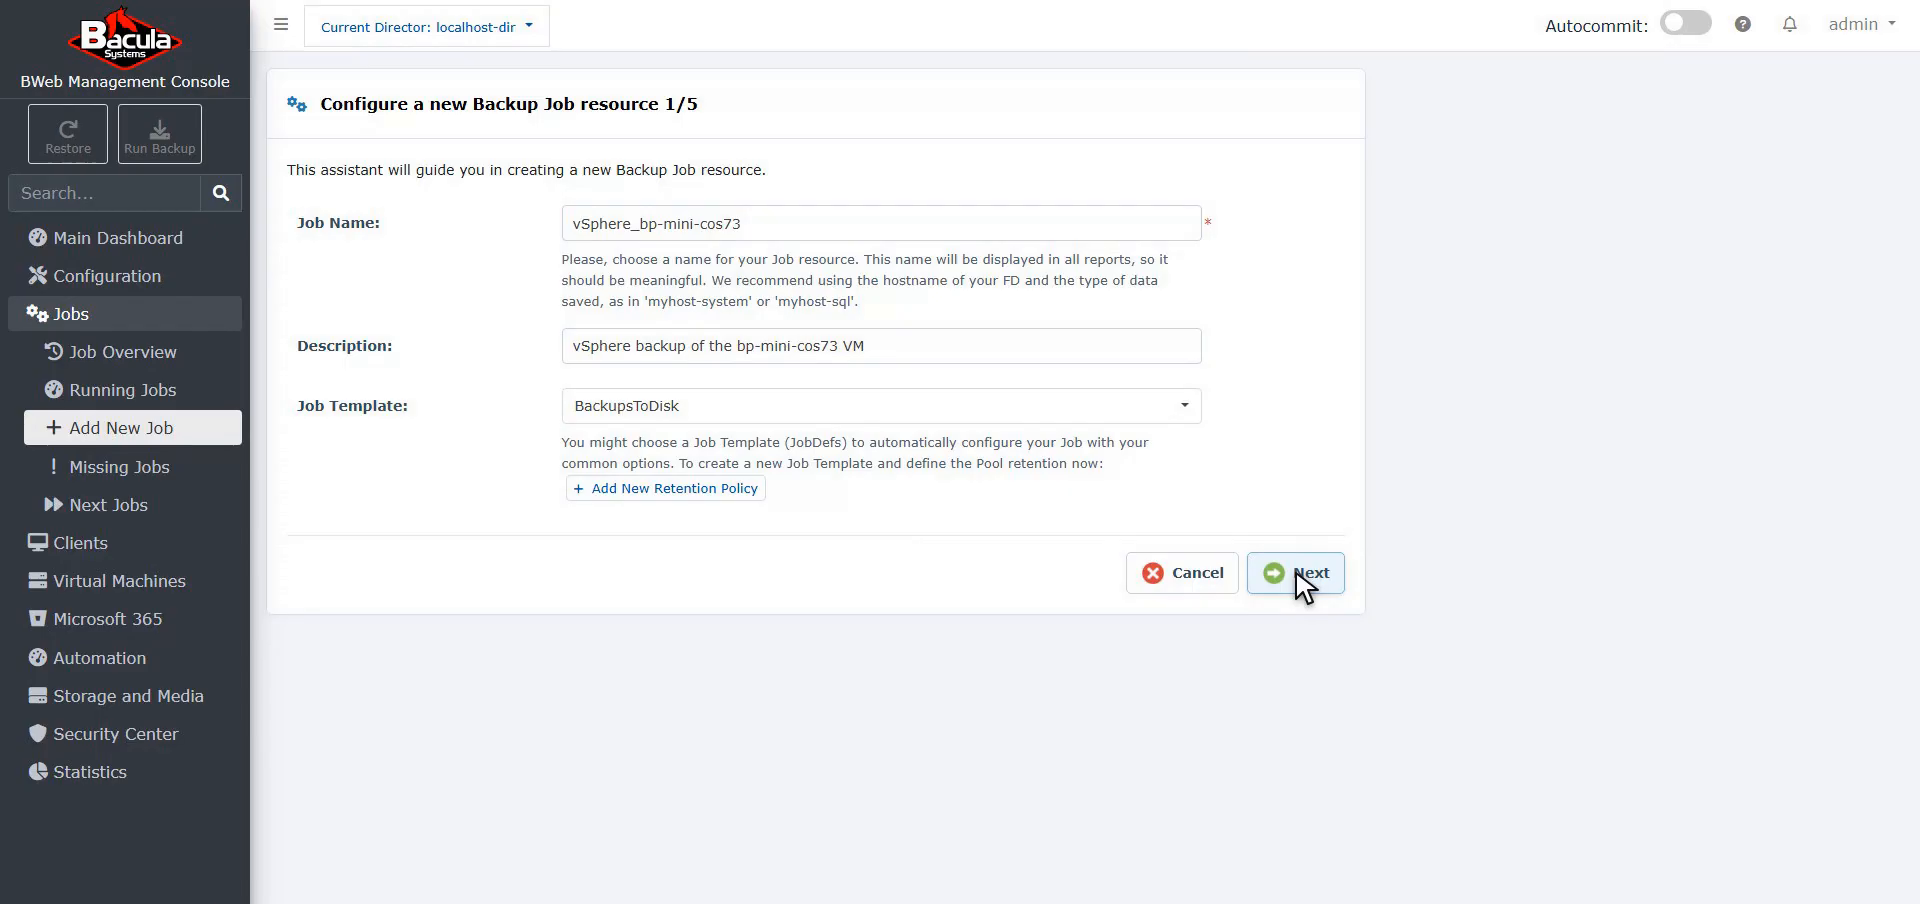
In Configure a new Backup Job resource 2/5, choose the Client name and click Next.
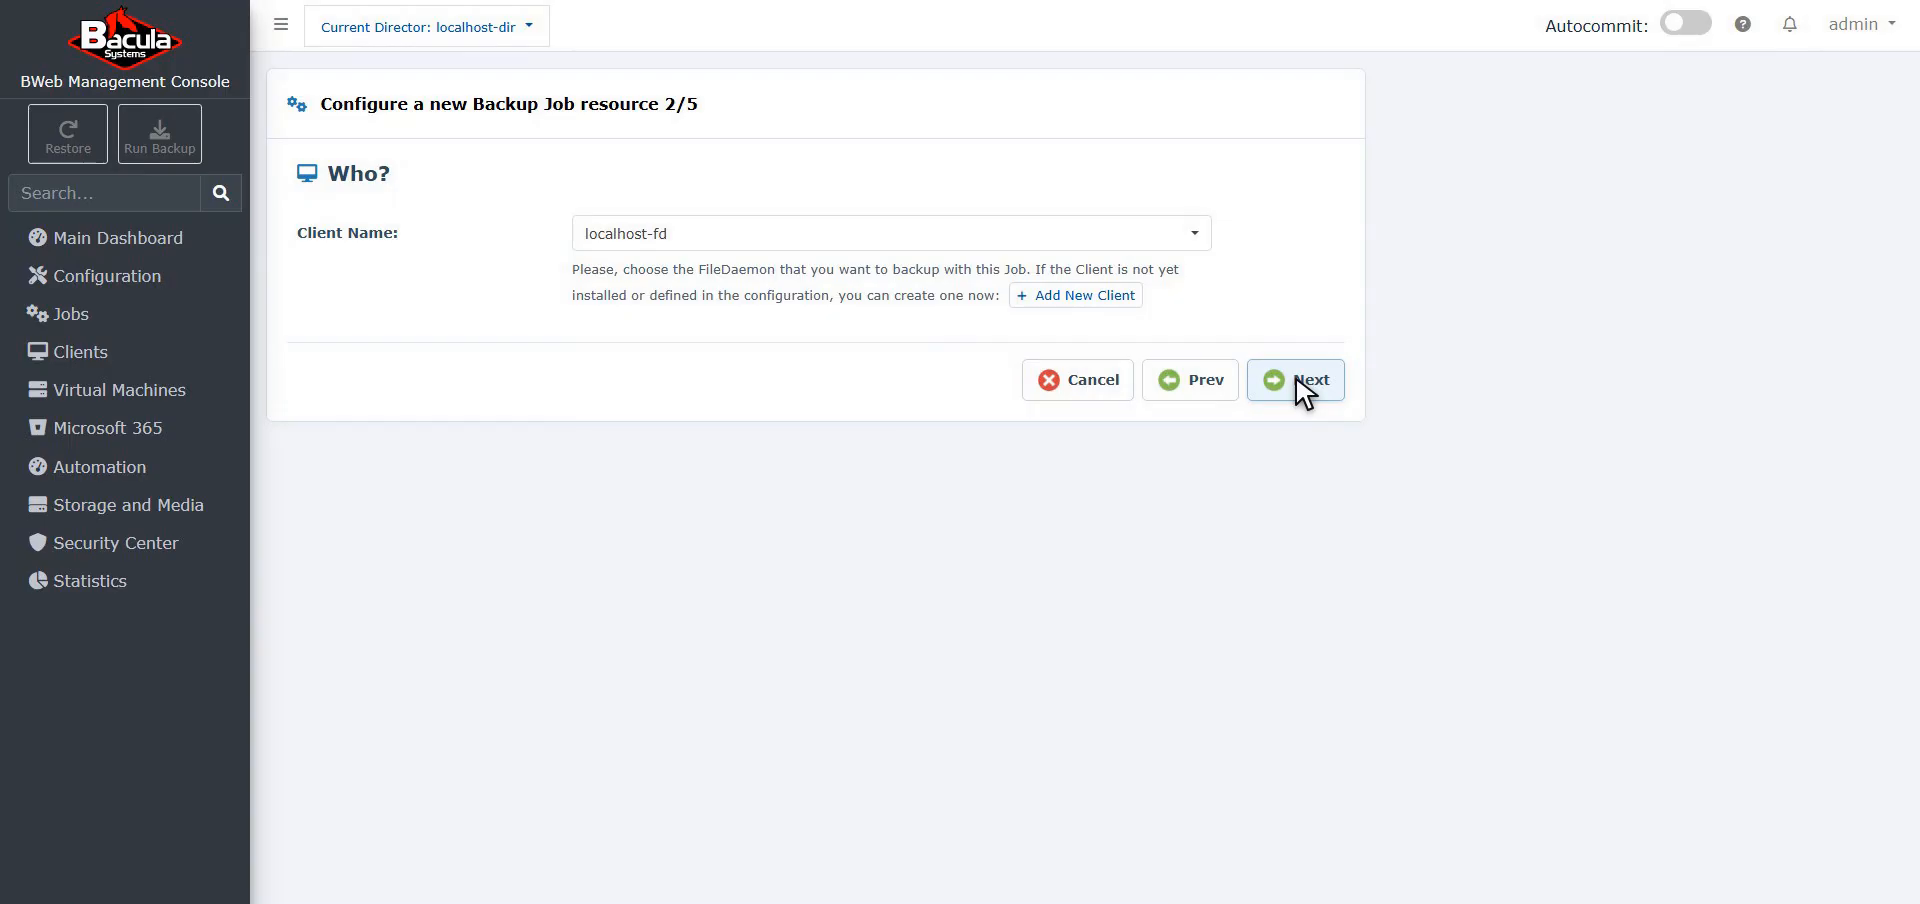
In Configure a new Backup Job resource 3/5, choose the proper Fileset name and click Next.
In Configure new Backup Job resource 4/5, choose the Pool name and Storage name, then click Next.
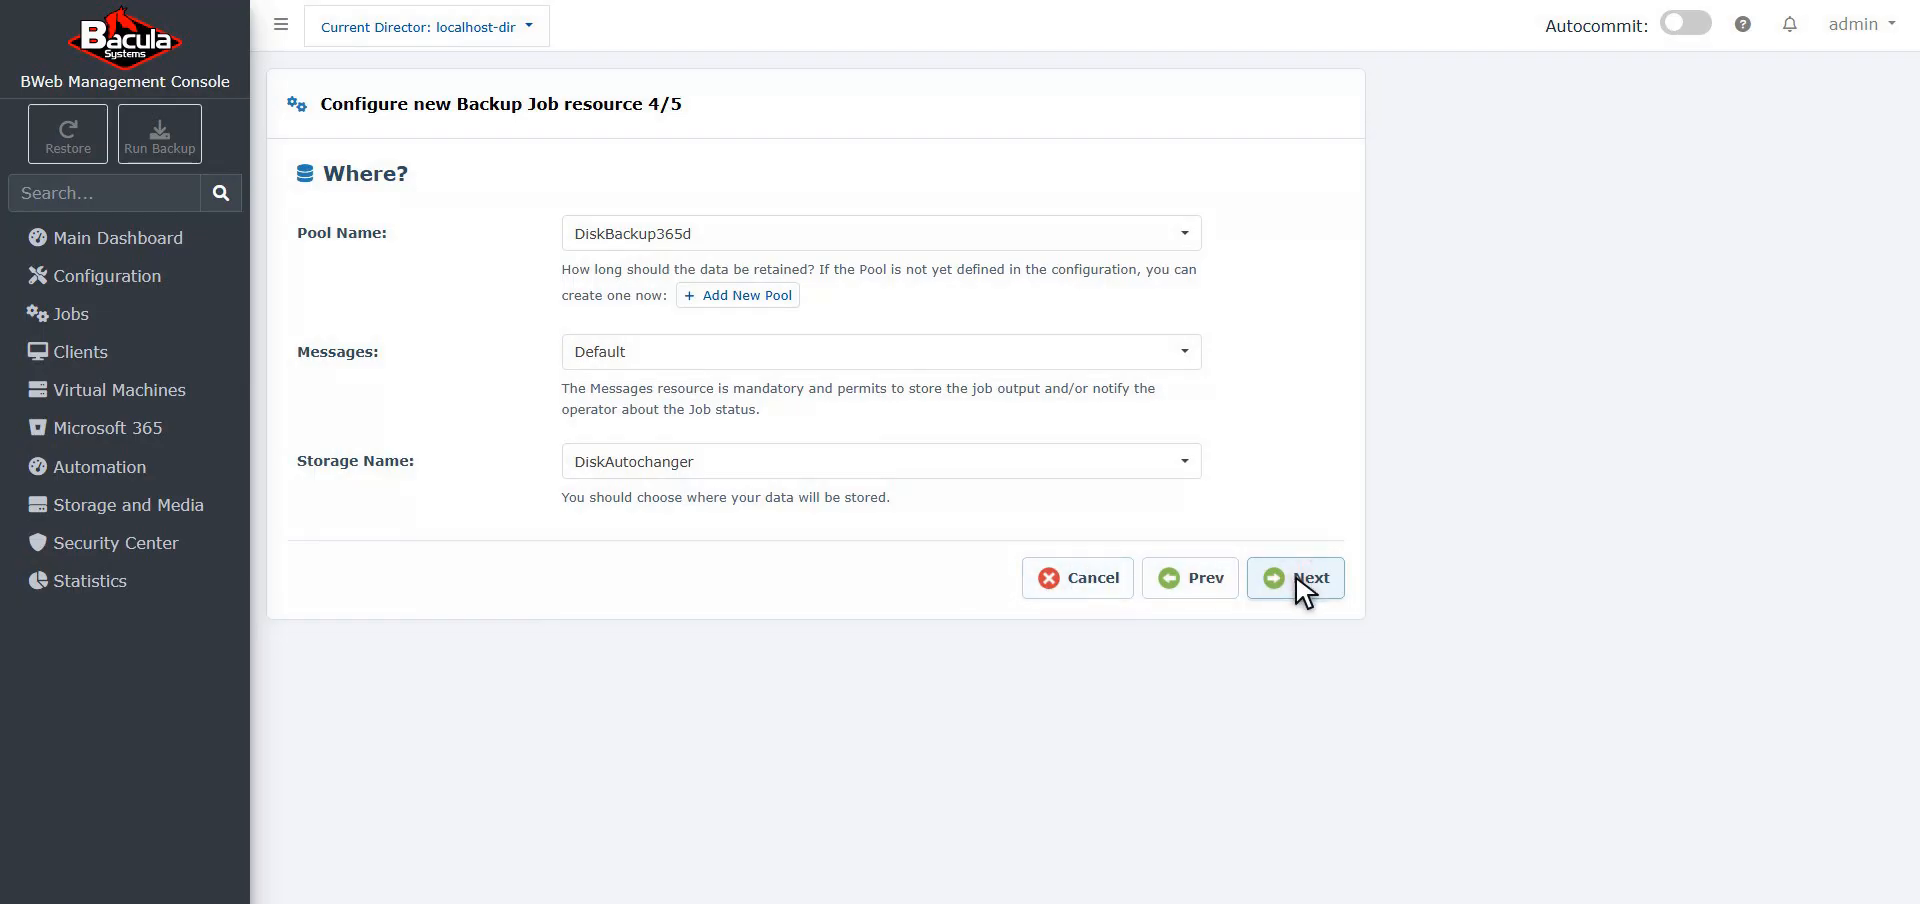
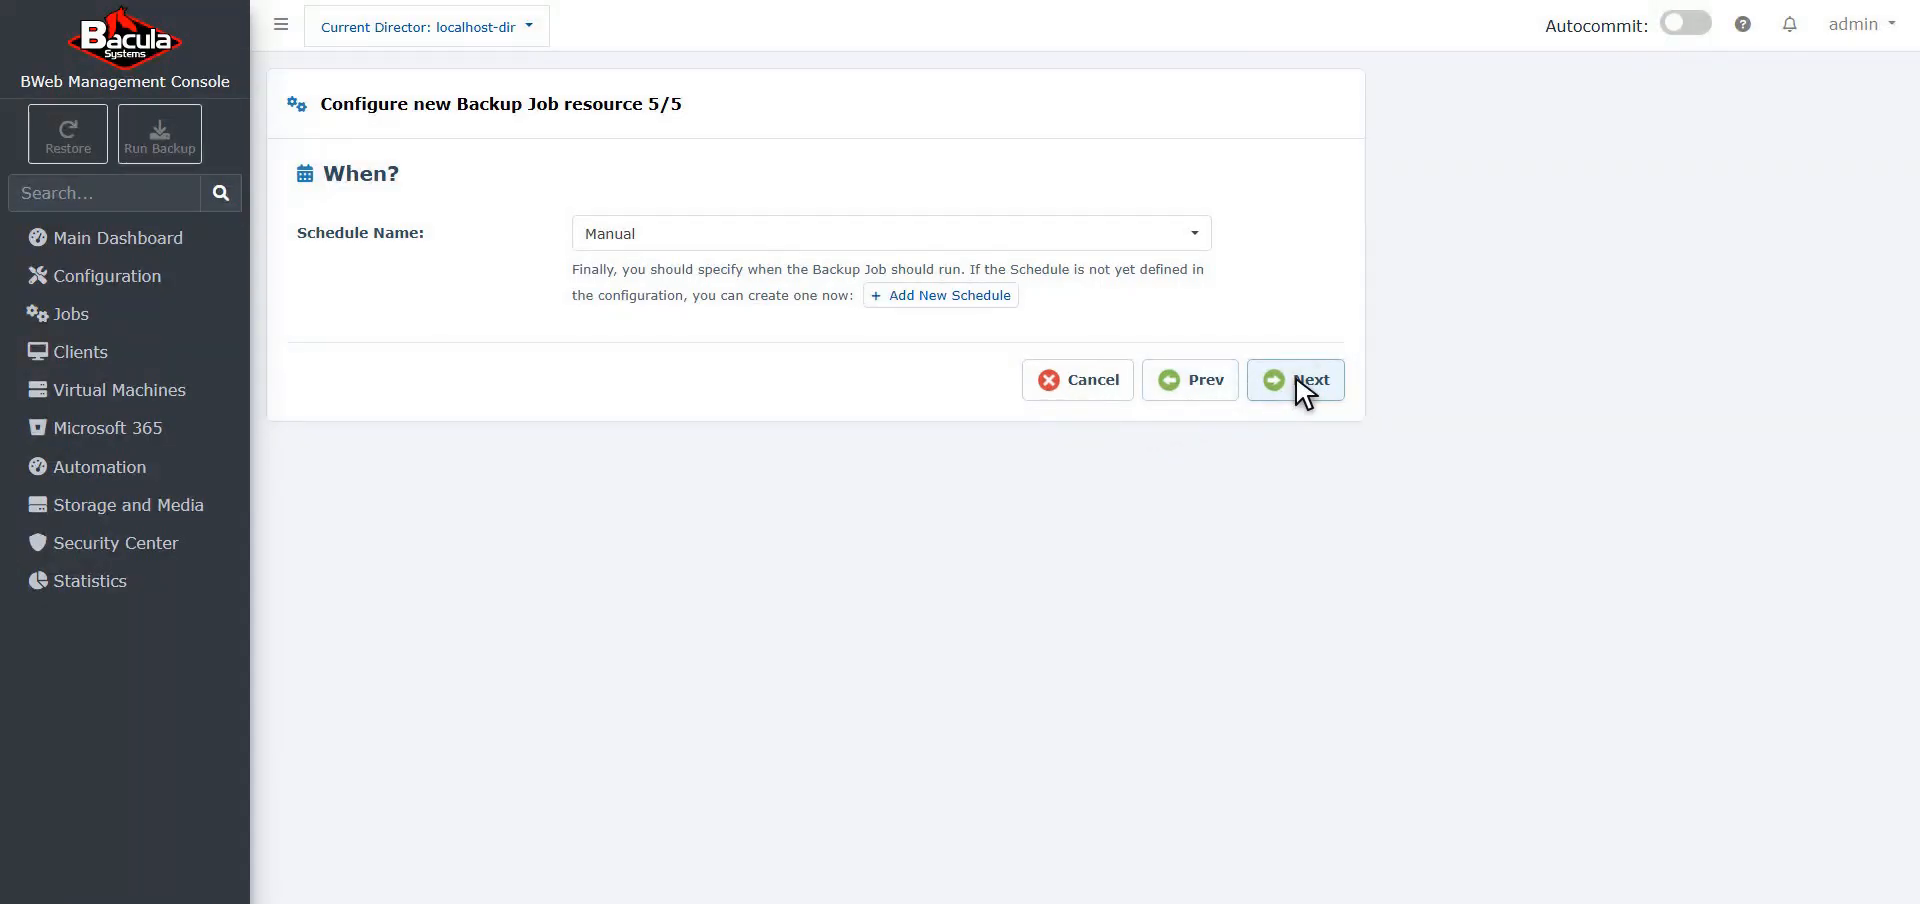
In Configure new Backup Job resource 5/5, choose the schedule and click Next.
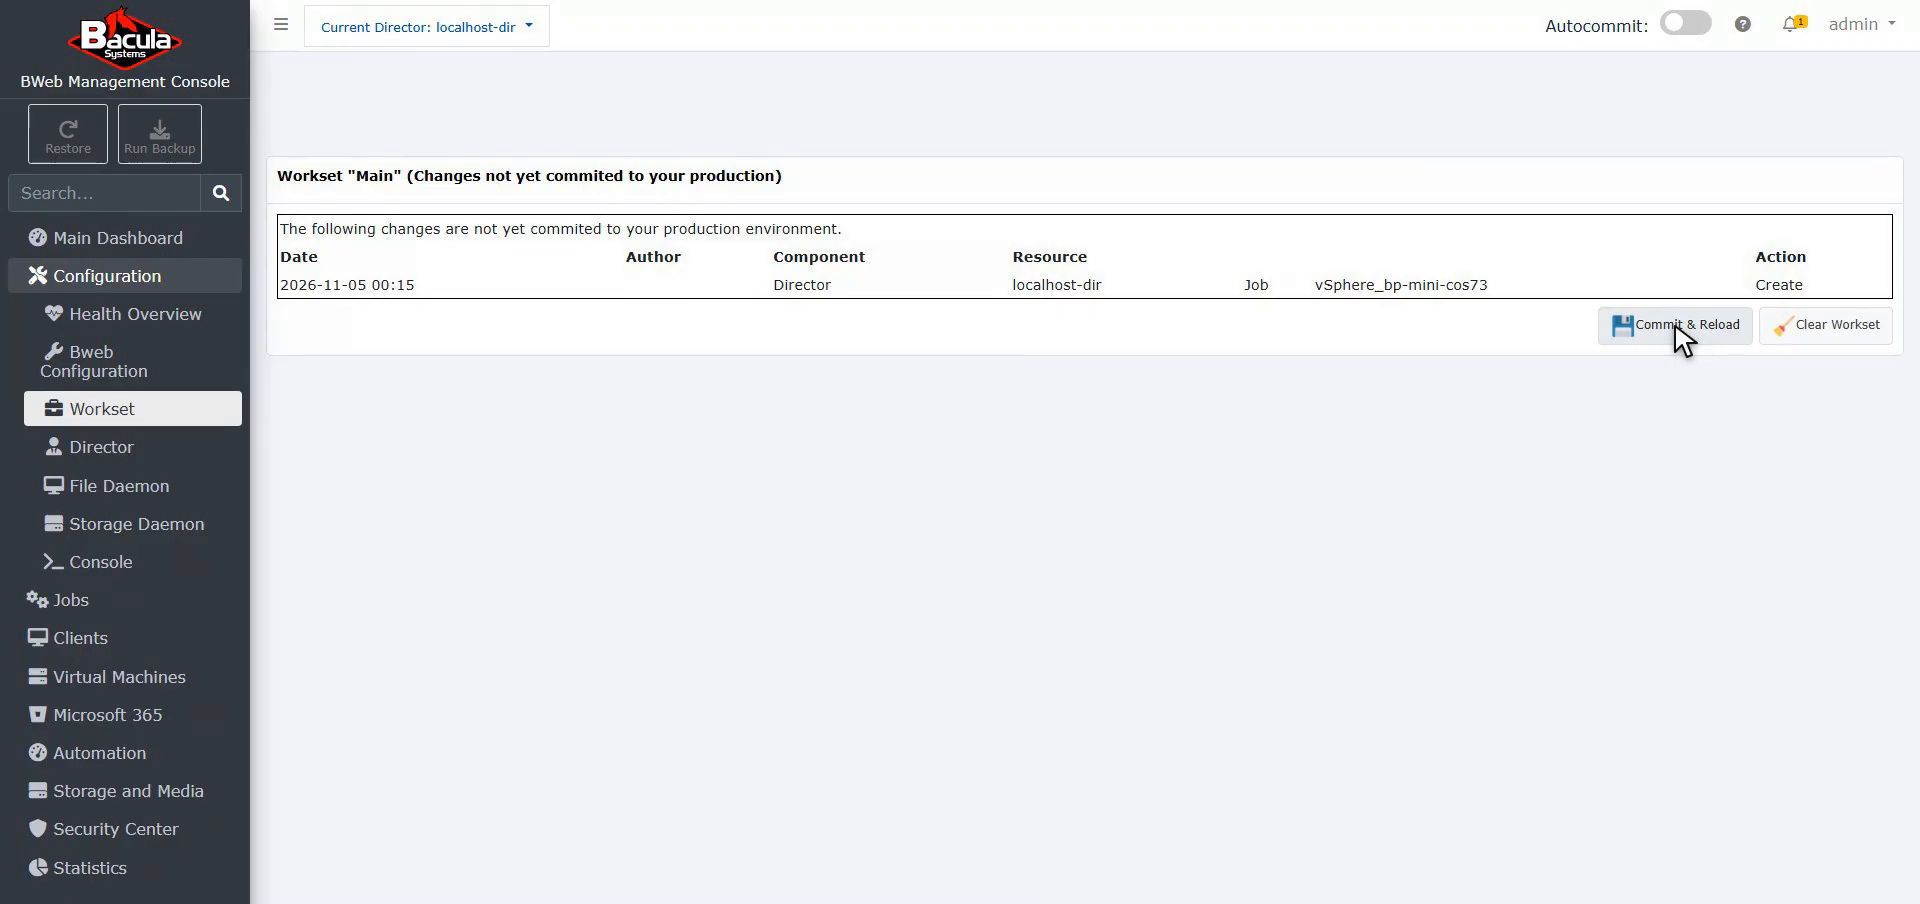
In Workset “Main” (Changes not yet committed to your production), review the pending Job change and click Commit & Reload.
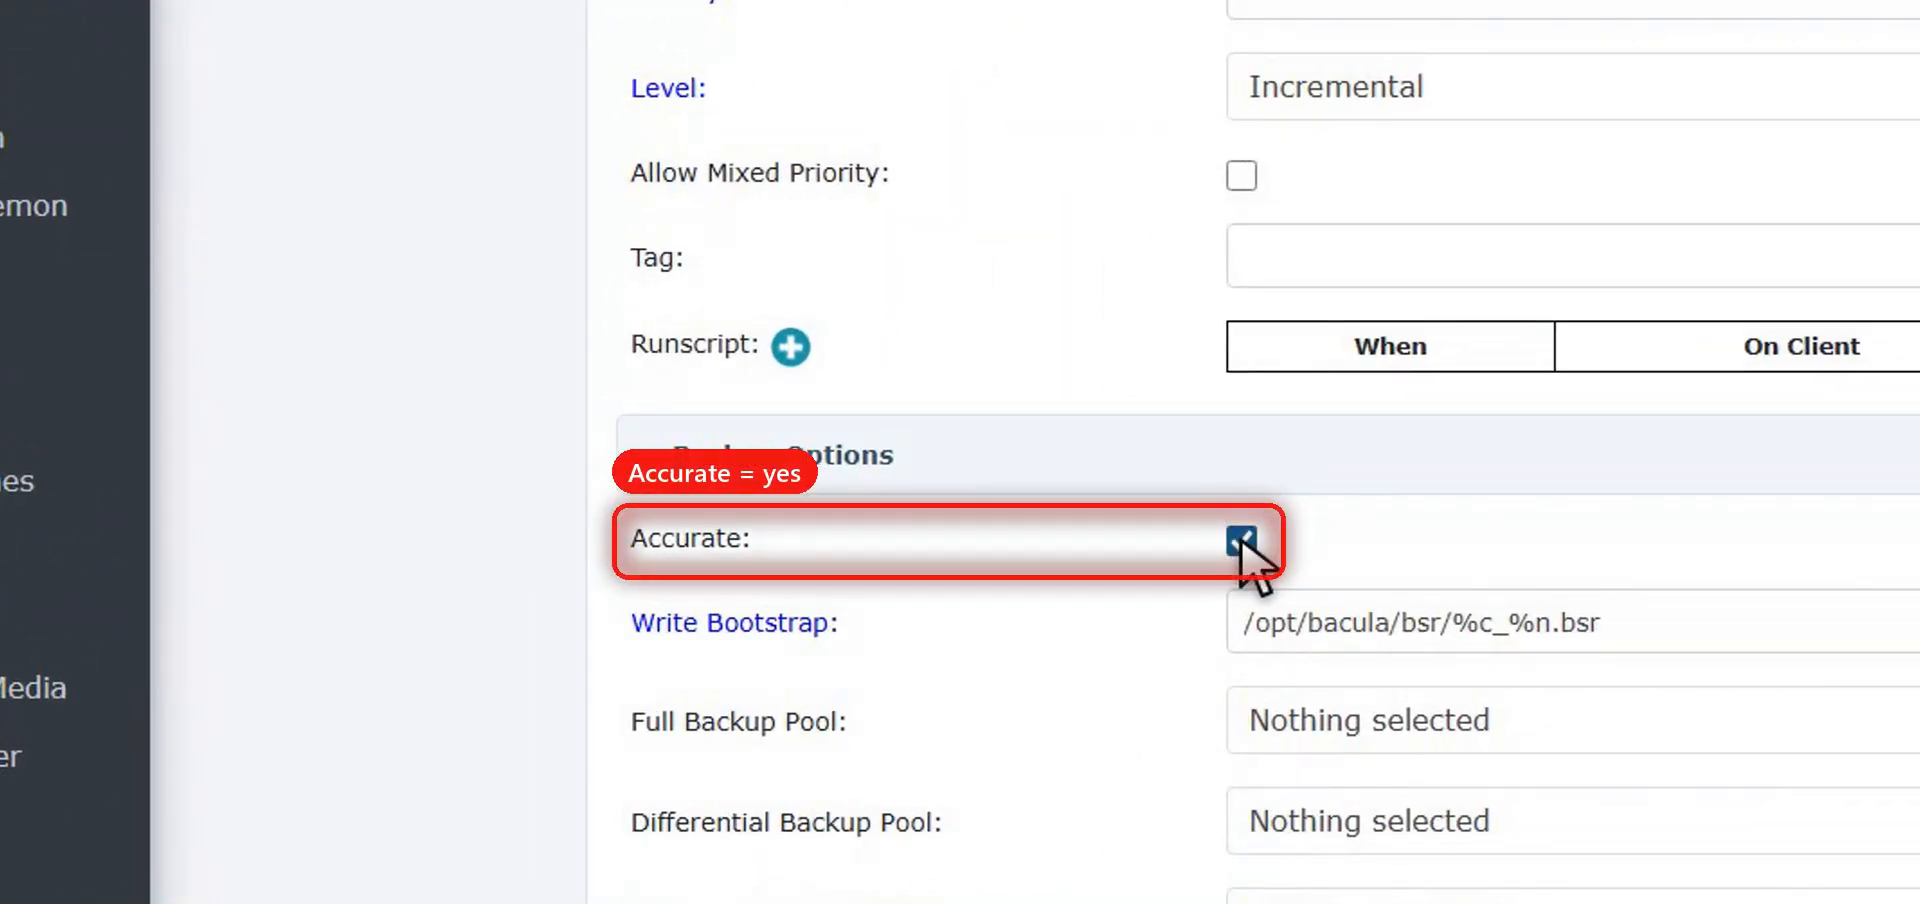
Enable Accurate on the Job.
Open the Job for editing, scroll down to Backup Options, tick Accurate, and click Save.
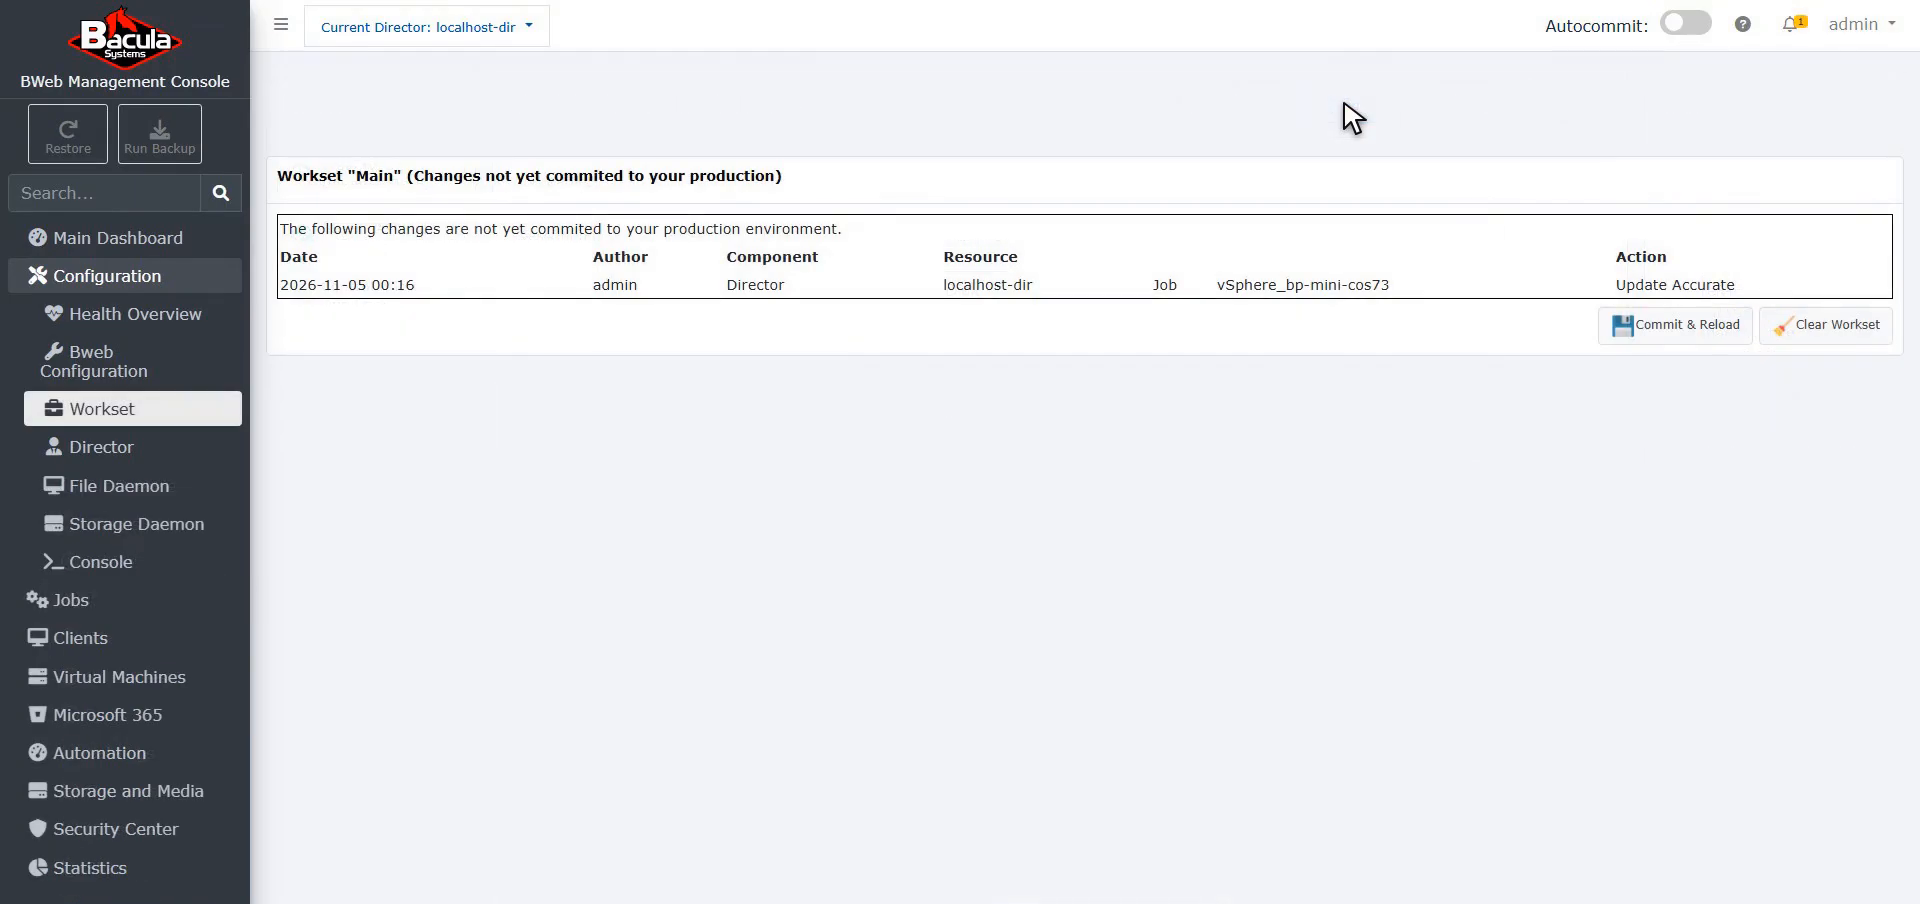
In Workset “Main” (Changes not yet committed to your production), review the pending Accurate change and click Commit & Reload.
For more options, see vSphere Plugin configuration and Creating vSphere Plugin Backup Job and Fileset in BWeb.
Backup Example
Start the backup.
Click Run Backup and, in Job Selection, choose the vSphere backup Job created above.

In Job Settings Overview, review the Job settings and click Run Job.

When the Job completes, review the Job Report and confirm that the termination status is Backup OK.

Restore Example
This example restores the backup as a new VMware VM.
After the backup Job finishes, open the Job details and click Restore.

In Step 1 - Client Selection, choose the Bacula Client that ran the vSphere backup.

In Restore Point Selection, select the vSphere backup and restore time point.

In Files Selection, add the
@vsphereobject to the Restore Selection Area and click Accept Files Selection.
In Restore Options, verify the restore Client, set Where to
/, and verify the replace policy.
Open vSphere, choose the destination datastore, enter the new VM name, select the vSphere server, and click Run Restore.

When the restore Job completes, review the Job Report and confirm that the termination status is Restore OK.

The restored VM is created in vSphere with the new VM name selected in the restore options. Review its network and power settings before starting it in production.
See also
Next articles:
Go back to: vSphere Plugin.